How To: Before and After Selfies
If the thought of taking a full-body selfie in minimal, tight clothing absolutely terrifies you, don’t worry—you’re not the only one. While it might seem backward to take photos before you’ve reached your “dream bod,” documenting your fitness journey and where you started is a surefire way to keep you on track to achieving your goals.
Want to slim down? Bulk up? Increase your muscle definition? Take a selfie. It’s truly one of the best ways to push you forward. Regardless of your goals, the simple task of snapping a weekly photo will hold you accountable, motivate you to keep improving, and literally show you positive changes over time.
If you’re new to the selfie world, taking progress photos might feel a little awkward and uncomfortable at first, and that’s okay. I promise—it will all be worth it in the end! When the time comes, you will feel so proud looking back at your transformation when you literally see that all of your hard work paid off.
Now, taking the perfect selfie might require some practice if you’re not used to taking photos of yourself. We’ve compiled nine tips to help you get the most accurate shot every time. That way, it will be consistent and you’ll be able to see your progress.
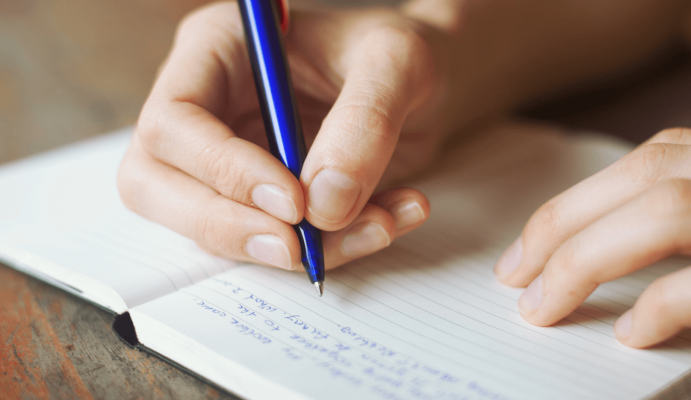
1. Use an app to document.
If you want a place designated solely for tracking your progress, try using Progress Body Tracker & Health. You can easily record your measurements and keep your photos all in one place.
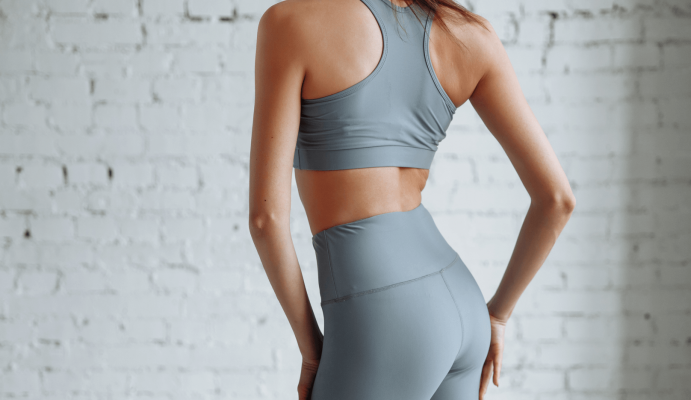
2. Show your body!
In order to see progress, you’ll want to show your shape. Make sure you wear a swimsuit (like a bikini) or form-fitting workout clothes, such as spandex shorts and a sports bra. You can pose in your underwear if you plan on keeping these progress photos to yourself.
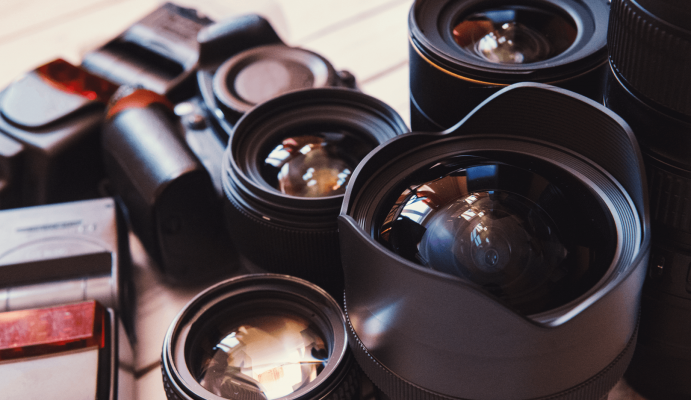
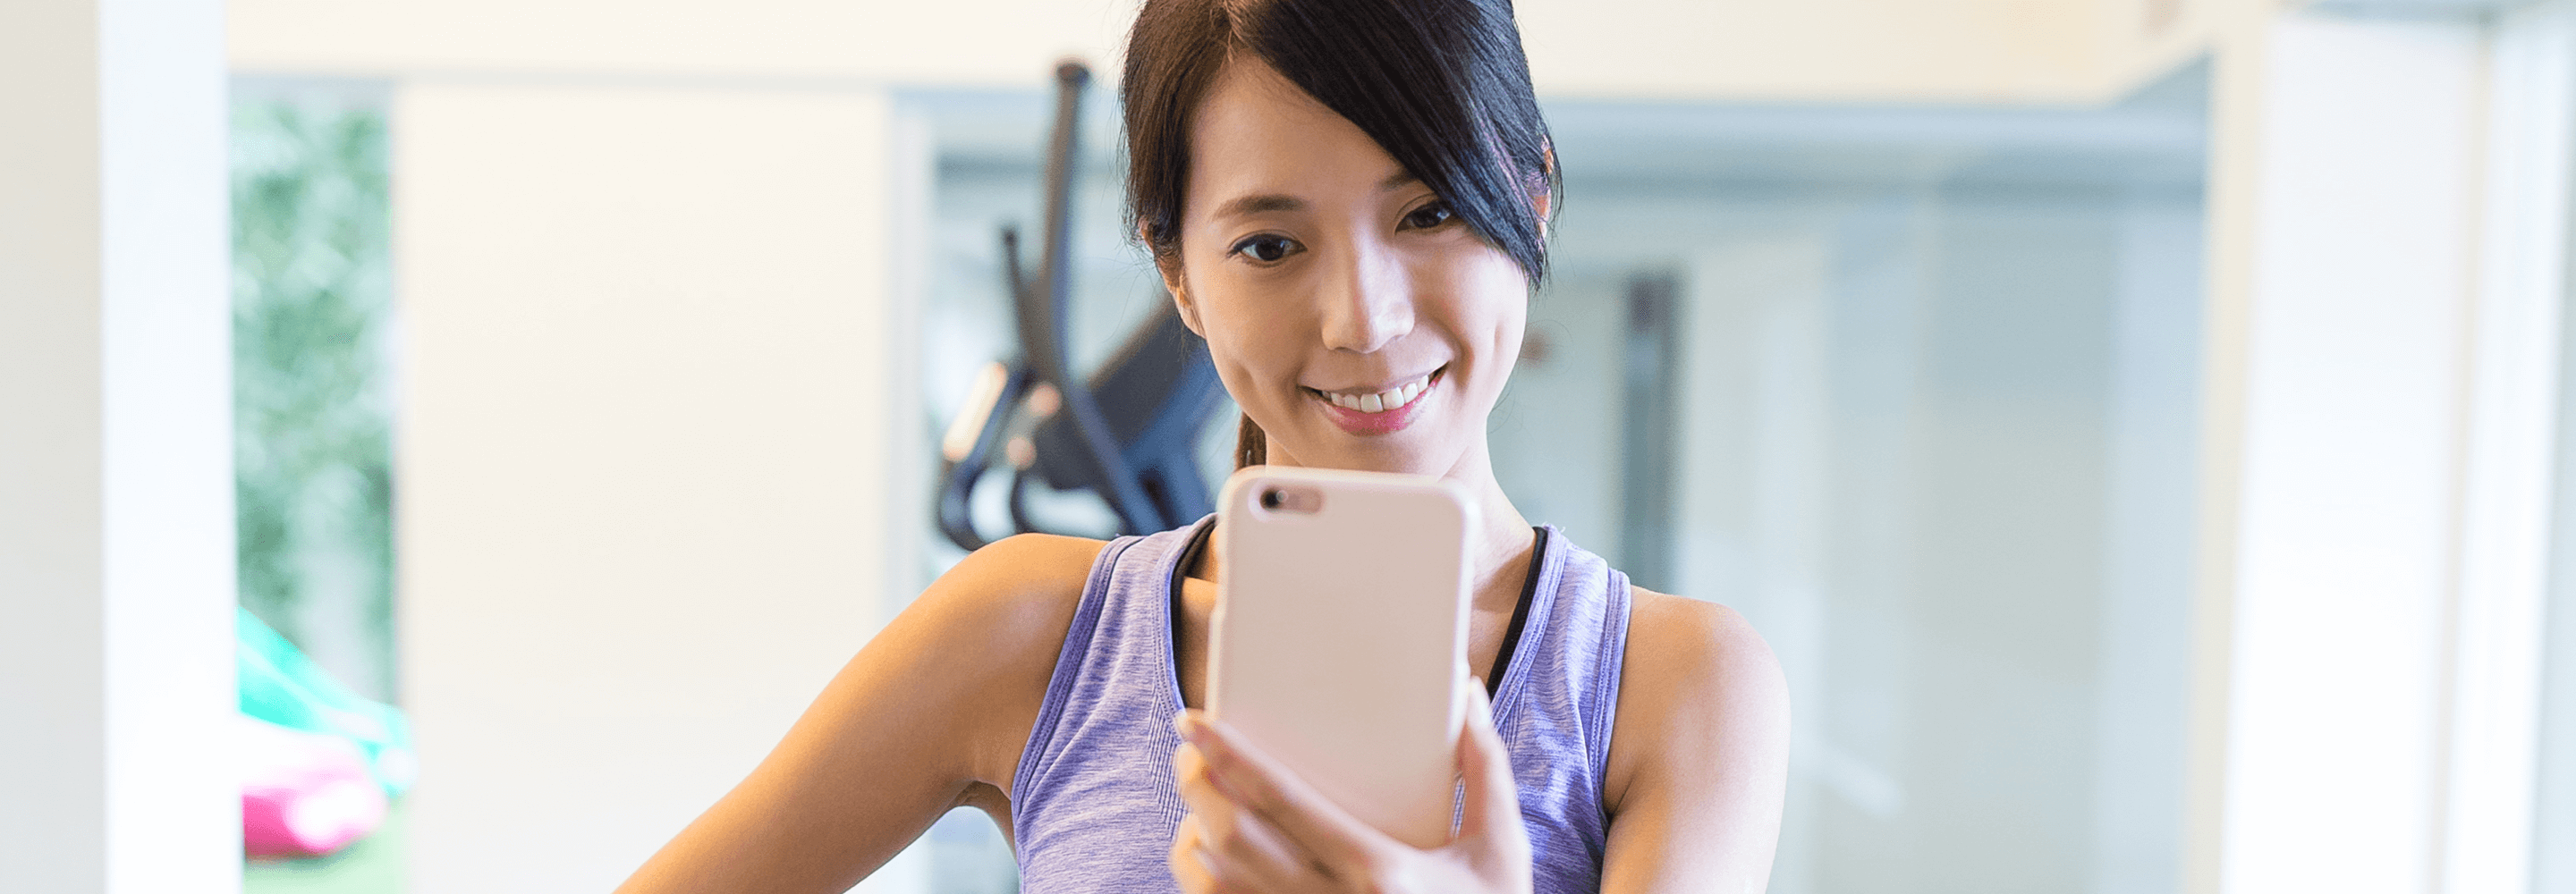
3. Use a good camera.
You don’t need to go out and buy an expensive camera for this. Most phone cameras do the job just fine. Just make sure your camera is able to capture a clear picture.

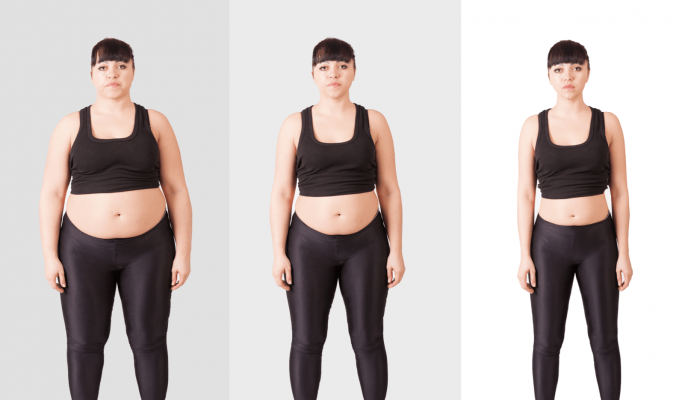
4. Choose a simple background.
A plain, white wall is perfect. You mostly want to avoid any clutter or crazy colors in the background that distract from the main object, which is you!

5. Keep things consistent.
Consistency will help you produce the most accurate photos. That means wearing the same outfit (or something similar), doing the same pose (stand up straight and keep your arms to the side), and standing in the same lighting against the same background every time.

6. Lighting is everything.
Try to take your photo during the day in natural light, and make sure there aren’t any weird shadows casting on you.
7. Take multiple photos.
A general rule is to snap at least three photos, one from each angle: front, side, and back. Make sure your entire body (from head to toe) is centered in the photo, and that each shot is taken straight on at eye level.
8. Document your progress every week.
Snap a photo and jot down your measurements each week. You might be pleasantly surprised by what you notice every seven days.

9. Recruit someone to take your photos.
While you can get great shots shooting yourself from a tripod or in the mirror, you might find it easier to ask a friend, spouse, or family member to photograph you.
Have a before-and-after transformation photo you’d like to share? Tag us @iFit on Instagram or Facebook. We’d love to see!